
01Sign in to H3 Image
Open H3 Image and select Sign in in the navigation. Follow the sign-in window to access your account or register. Use the same account when returning to your images so your balance and creation history stay together. No software installation is needed for the browser studio.
After signing in, look for your avatar and credit balance in the header. Open the avatar menu to find My Account and My Creations. If your balance is still loading, let the account information finish updating before starting a request. Keep a copy of your first prompt in a note, especially if you expect to switch devices or reload the page.
If you selected Generate image before signing in, complete authentication and return to the studio. The studio can resume your pending generation after authentication. Check its status before clicking Generate image again. This first check makes the rest of the H3 Image tutorial easier to follow.
02Check your account and prepare a brief
Visit My Account to review the balance associated with your signed-in account. Use the current pricing page for credit information. Do not assume a fixed free allowance or a particular charge from a tutorial example: the balance and applicable service information are what matter when you create. If an account error appears, resolve it before submitting repeated requests.
Next, decide what your image needs to accomplish. For a product tile, you might need a centered object with room around its edges. A presentation cover may need an empty left third for a title. Write down the subject, destination, and two details that must be correct. Use those requirements to judge the result.
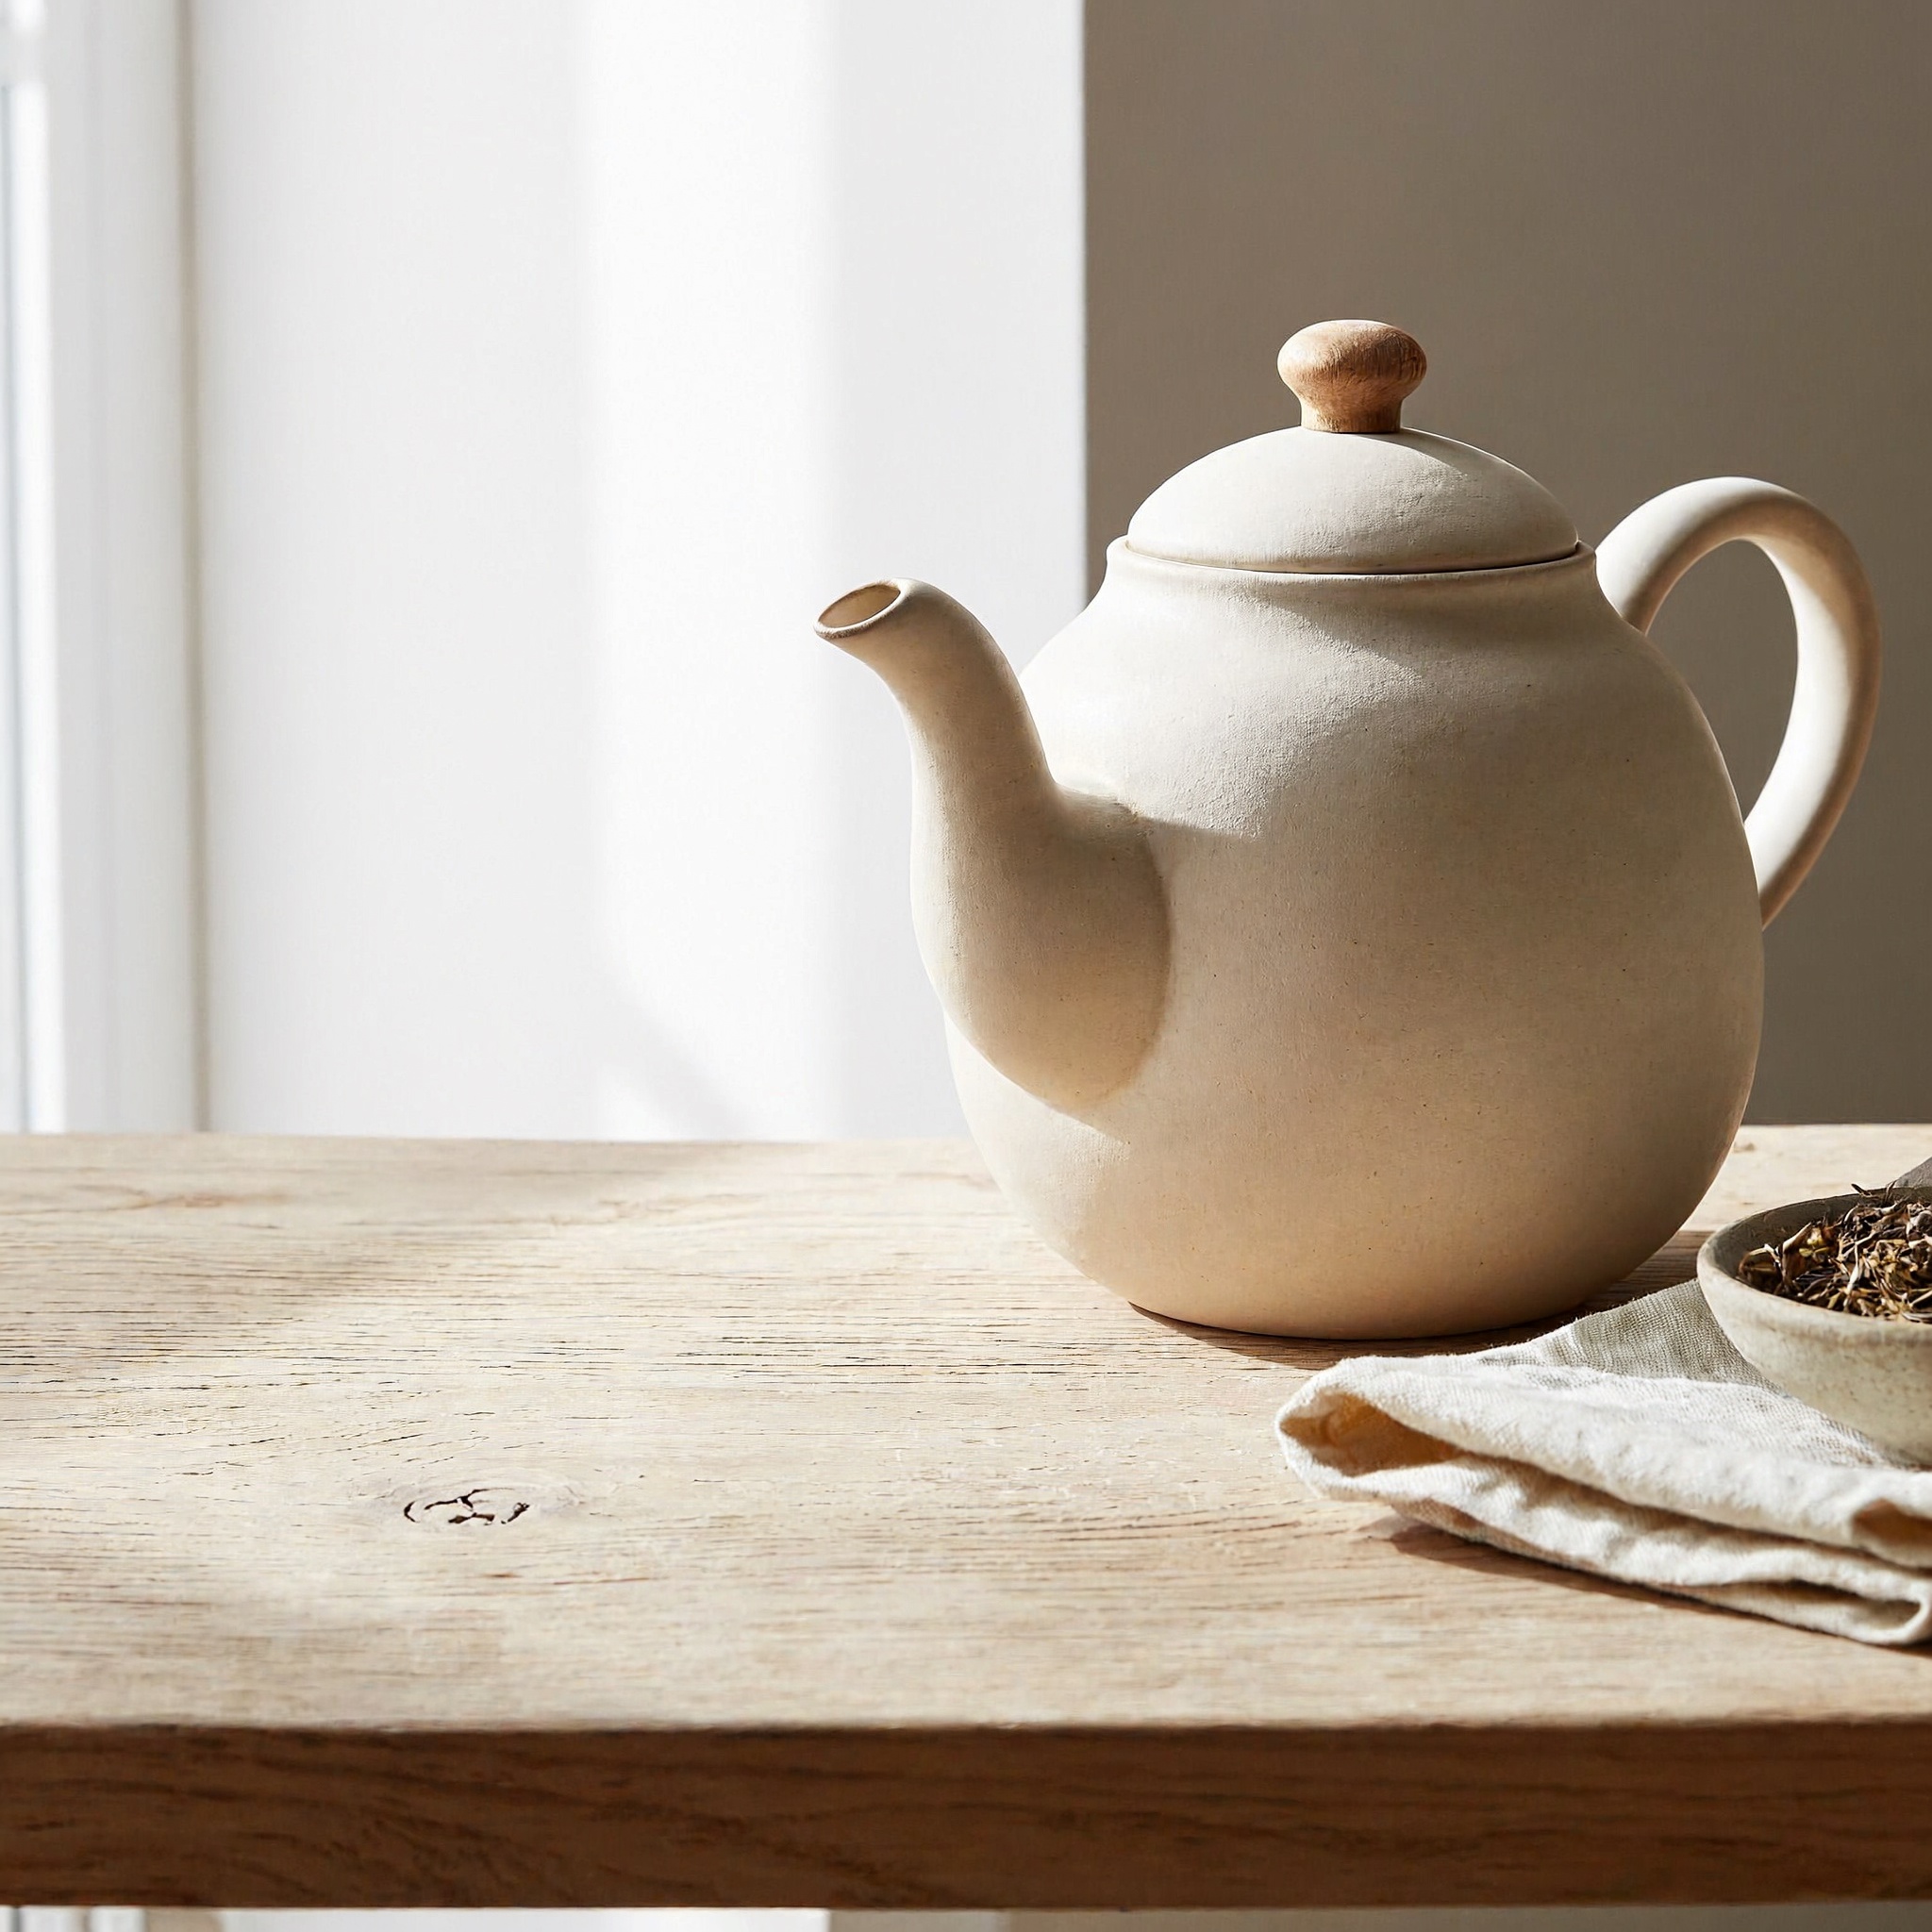
For this H3 Image guide, the running example is an ivory teapot on a wooden table. You can replace it with your own subject. Gather any reference images now, keep their originals, and choose files that clearly show the details you want to preserve.
03Open the studio and choose a mode
Select Open studio or go directly to the H3 Image generator. The prompt box is the main writing area. Use the Text to image and Image to image tabs at the top of the composer. Canvas and Resolution have separate menus along the bottom. The initial settings are Text to image, 2K, and 1:1. Verify these controls whenever you begin a different kind of task.
Choose Text to image when you want to create from a written description. Choose Image to image when an existing image should guide the result. Editing requires at least one reference image; text generation does not. Adding a local reference file also switches the form to Image to image, so check the mode after attaching a file.
In Image to image mode, the dashed plus card inside the prompt area opens the file picker. The link button below opens a compact URL dialog. It does not submit your request. If you are learning how to generate images with H3 for the first time, begin with Text to image and one simple scene. You can move to references after reviewing that first result.
04Write a clear H3 Image prompt
Describe the subject, setting, composition, and lighting in that order. Add a constraint when it affects the finished layout. Concrete choices such as a low camera angle or a pale oak surface communicate more than a string of words like amazing and premium. Keep related instructions together so the scene has one clear visual direction.
A matte ivory ceramic teapot on a pale oak table, photographed from a low three-quarter angle. Soft window light from the left, gentle shadows, warm neutral colors. Place the teapot on the right and leave the left third clear for a headline. No added text.
Select Copy prompt to copy this example, or Use in studio to transfer it into the generator. Replace the object and setting before submitting if they do not fit your project. The pictured teapot was generated on this website with this prompt at 2K and 1:1.
Use Clear beside the resolution parameter to empty the prompt. A confirmation dialog lets you cancel or confirm before the text is removed. Read the prompt for contradictions. A tight close-up and a full-room view usually need different compositions. The form accepts a nonempty prompt up to 32,000 characters, but that limit is not a writing target. A concise, complete H3 Image prompt is easier to revise than a long list of competing requests.
05Choose the canvas and output resolution
Open the Canvas menu and select 1:1 for a square, 16:9 for a wide image, or 9:16 for a vertical image. Match the canvas to the destination before generating. A wide cover gives a title room beside the subject; a vertical poster needs the focal point to remain readable on a phone. These are the three canvas options available in this studio.
Select 1K, 2K, or 4K under Resolution. Each parameter button updates to show your selection. Resolution controls output size, while canvas controls shape. Increasing resolution does not repair a crowded composition or a missing object. Choose a setting that fits the intended use and check the current credit information before committing to repeated attempts.
MiniMax documents native 4K support, including a 4096 × 4096 square image, in its H3 Image announcement. Other shapes have different dimensions. Check the actual result file when exact pixel dimensions matter; the studio requests JPEG output.
06Add reference images for an edit
Choose Image to image, then click the dashed Reference images card inside the input area. Choose PNG, JPEG, or WebP files, each no larger than 20 MB. The form supports up to sixteen references in total. Inspect the thumbnails and remove an unwanted file with its remove control. A clear, small reference set makes your first H3 Image edit easier to assess.
You can also click the link button below the input area. Paste public reference image URLs into the single-line field, separate multiple URLs with spaces, then select Save links. Use direct HTTP or HTTPS image links that the service can access. A private sharing page or a link that requires your browser login may not work. Local uploads and public URLs count toward the same sixteen-image limit.
For predictable ordering, start with local files only or URLs only. Give each image a distinct purpose in your prompt: product shape, background, or lighting. Local files are uploaded when you submit an editing request. The thumbnails help you check your selection beforehand; they do not mean the edit has already started.
07Explain what to change and preserve
To learn how to edit images with H3 Image, begin with one focused change. Describe the target and then name the elements that should remain. Replacing a wall color is easier to evaluate than changing the pose, camera, background, and materials together. Keep the original reference available for comparison.
Change only the background wall to muted sage green. Keep the teapot, table, camera angle, shadow direction, and crop unchanged. Preserve the existing soft window light and the ivory glaze on the teapot.
For multiple references, explain which source supplies each property. For example, use one image for the teapot silhouette and another only for the tabletop setting. Avoid asking the model to combine conflicting shapes without saying which takes priority. Check the selected canvas again because a new crop can change the composition even when the subject remains similar.
If you want to edit a previously generated result, save that image and add it as a new reference, or use its accessible image URL. The current workflow uses the reference picker rather than an automatic edit-on-canvas action.
08Generate the image and follow its status
Check the prompt, creation mode, canvas, resolution, and references one last time. Select the upward-arrow Generate image button in the composer. For a local reference edit, the status first reports the upload progress, then submission and generation. You can browse another page on this site while the request runs. A waiting indicator remains visible, and returning to the studio restores its preview.
The submit control is disabled while a task is being handled. The studio keeps checking the existing task and can reconnect to a pending request when you return. Follow its status before starting another image. A slow result does not by itself mean that generation has failed.
If submission returns an uncertain result or you lose the page, inspect My Creations before starting again. Review the error message if one is shown. This H3 Image tutorial does not promise a fixed completion time: uploads, service availability, and processing can affect how long your particular request takes.
09Review the full image and refine it
When the result appears, inspect the overall layout first. Does the teapot sit on the correct side? Is the headline area actually clear? Does the light come from the requested direction? Judge the image against the brief you wrote in step two before deciding whether you like its style.
Select Enlarge image to inspect details beyond the studio preview. Check object edges, reflections, handles, repeated patterns, and any lettering. For portraits, inspect the features relevant to your brief. A polished H3 Image result can still contain a small error that matters when displayed at full size.
For the next attempt, change one instruction at a time. If the composition is too crowded, remove secondary objects or specify more empty space. If an edit changes the product, return to the original reference and strengthen the preservation instruction. Save useful versions separately so later experiments do not replace your best candidate.
10Save your result and revisit My Creations
Select Download image beneath the completed result to save a local copy. Use Enlarge image for closer inspection, then Close preview to return to the studio. If your browser opens the image separately, use its image-saving option. Confirm that you saved the image itself rather than a screenshot of the studio interface.
Check the saved file’s dimensions and open it once before using it in a project. Give it a meaningful name, such as teapot-sage-background, and keep the prompt alongside it. Add exact typography, final cropping, and any required cleanup in your usual design application.
Open the avatar menu and choose My Creations to revisit your account’s image history. Use its refresh control to update the list and its page controls to browse more entries. Completed images include an Open image link; processing and failed tasks have status labels. Keep your own copies of important work rather than relying on the history page as your only archive.
H3 Image tutorial: common problems and fixes
Sign-in does not finish
Wait for the sign-in window to load and read any account message. If loading fails, retry Sign in. Confirm that you are using the intended account before checking credits or creations. Save your prompt before refreshing the page.
A reference is rejected
Check its file format, file size, and the combined number of uploads and URLs. For URL references, open the link separately and confirm it points to an accessible image. Retry with one valid reference to isolate the problem.
The preview is empty or the task is slow
Read the status beneath the prompt. Let the studio reconnect to the pending task, or check My Creations after returning to your account. If the preview cannot load but a result link is present, open that link before requesting another generation.
The image does not follow the brief
Remove contradictory instructions and identify the most important visual requirement. Use fewer references if their roles overlap. Our MiniMax H3 Image review explains how to assess quality, consistency, and the effort required to reach an accepted result.
Common questions
Can I follow this H3 Image guide without references?
Yes. Choose Text to image and describe the scene you want. References are required for Image to image, but they are optional for learning the basic prompt, settings, generation, and saving workflow.
How many images does one request create?
The current studio requests one image at a time. Review that result before starting another task. This makes it easier to connect each output with its prompt and settings.
Does a longer prompt improve H3 Image results?
Only when the extra detail clarifies the brief. State the subject, composition, lighting, and essential constraints. Remove repetition and conflicting directions before adding more adjectives.
Can I change text inside an image?
You can describe the desired wording in an editing prompt and inspect the result. Check every character. For exact final typography, place the text in your design software after generating the visual.
Where should I check generation credits?
Open My Account for your balance and consult the pricing page for current credit information. Keep track of repeated attempts when estimating the cost of a finished image.